Enhanced Business Performance
Your Reliable Partner in a Digital World
Logisek is a leading Cyber Security and IT services company that was founded in Greece in 2008 and in Romania in 2019 and has since expanded to serve clients on a global scale. With nearly two decades of experience in this field, we specialize in providing comprehensive technological solutions aimed at helping businesses stay secure in the digital world.
Our specialized team is committed to maintaining its pioneering position in a constantly changing technological environment, offering our clients the best possible protection against cyber threats. Whether you're seeking cyber security assessments, managed IT services, or cloud solutions, we have the experience needed to support you in achieving your goals. Secure your digital future with the trusted Cyber Security and IT solutions we provide.
Comprehensive Approach
Scalable
High-Quality Results
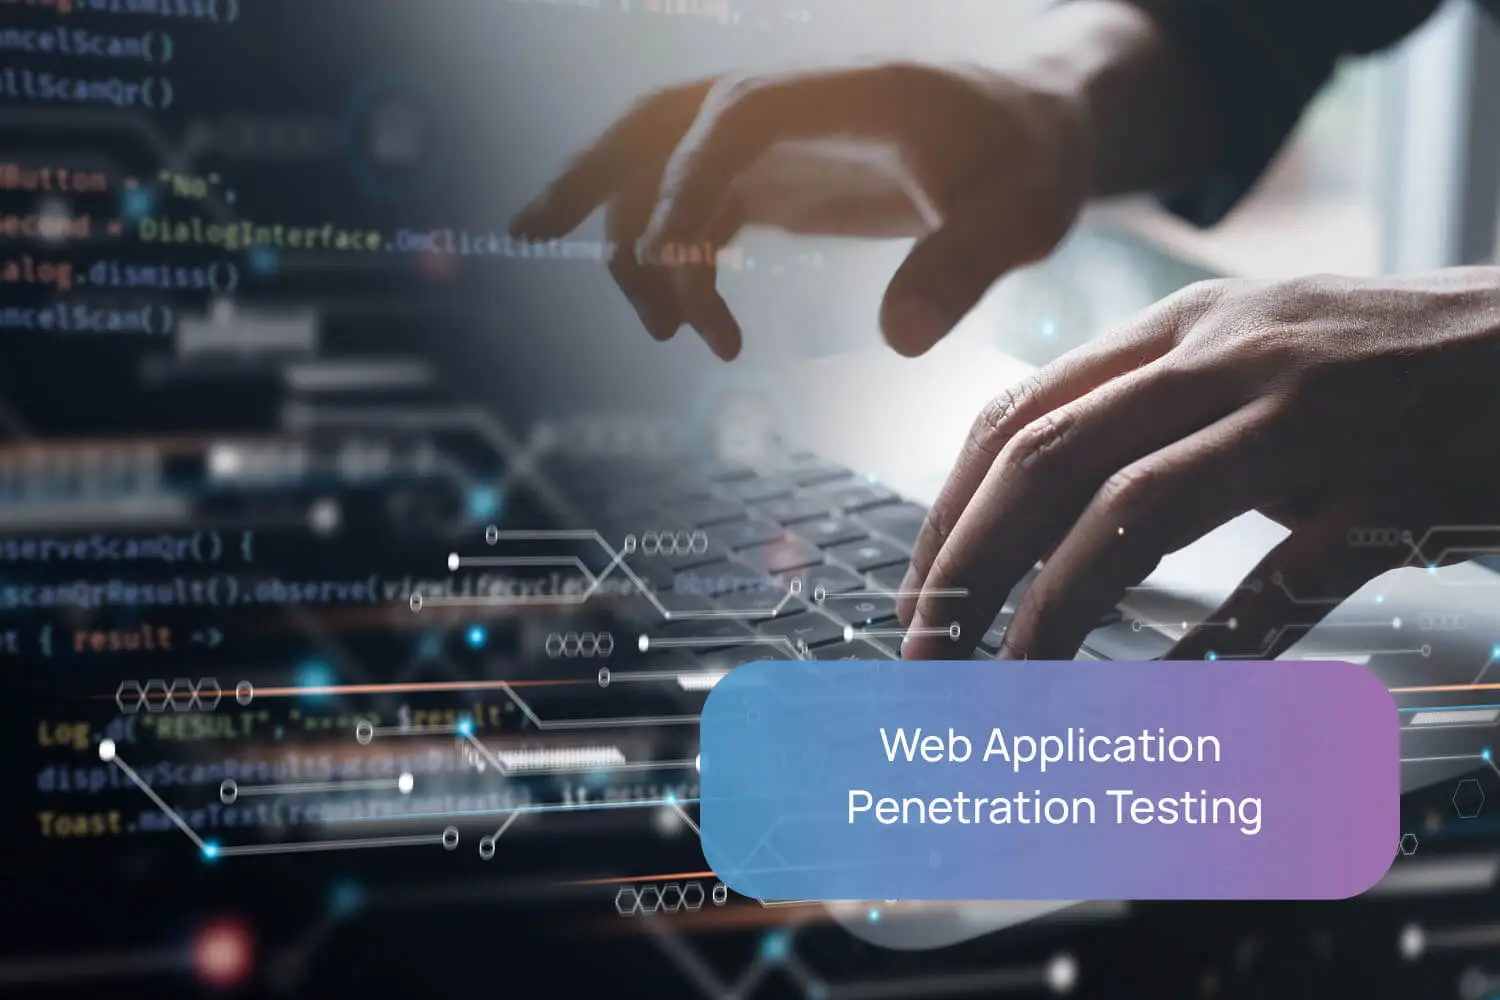
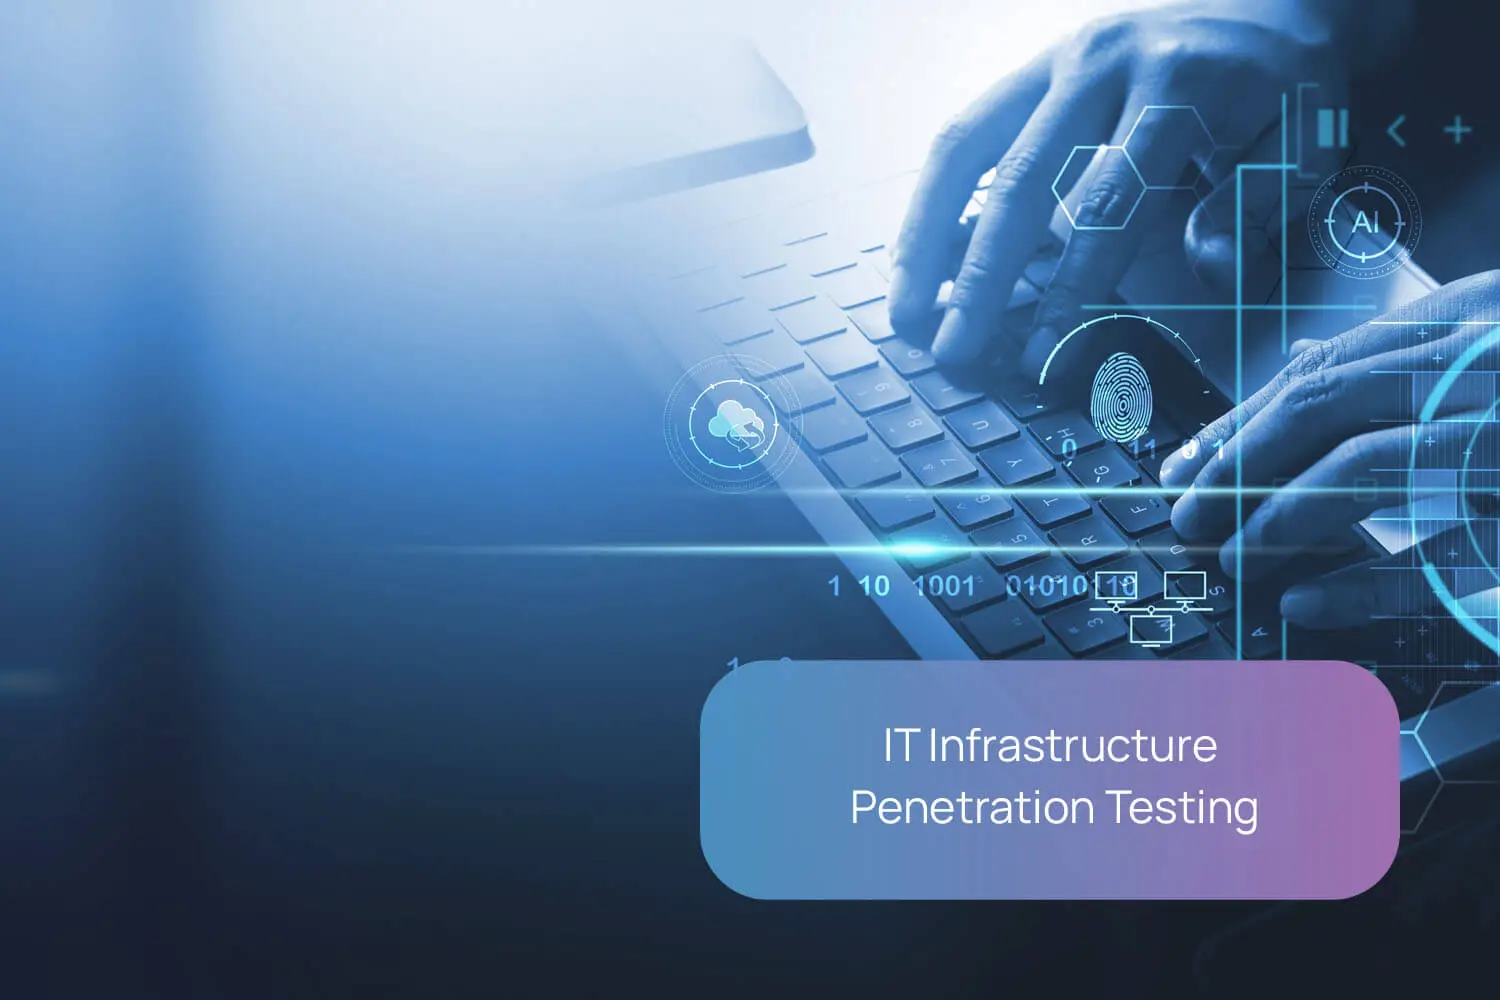
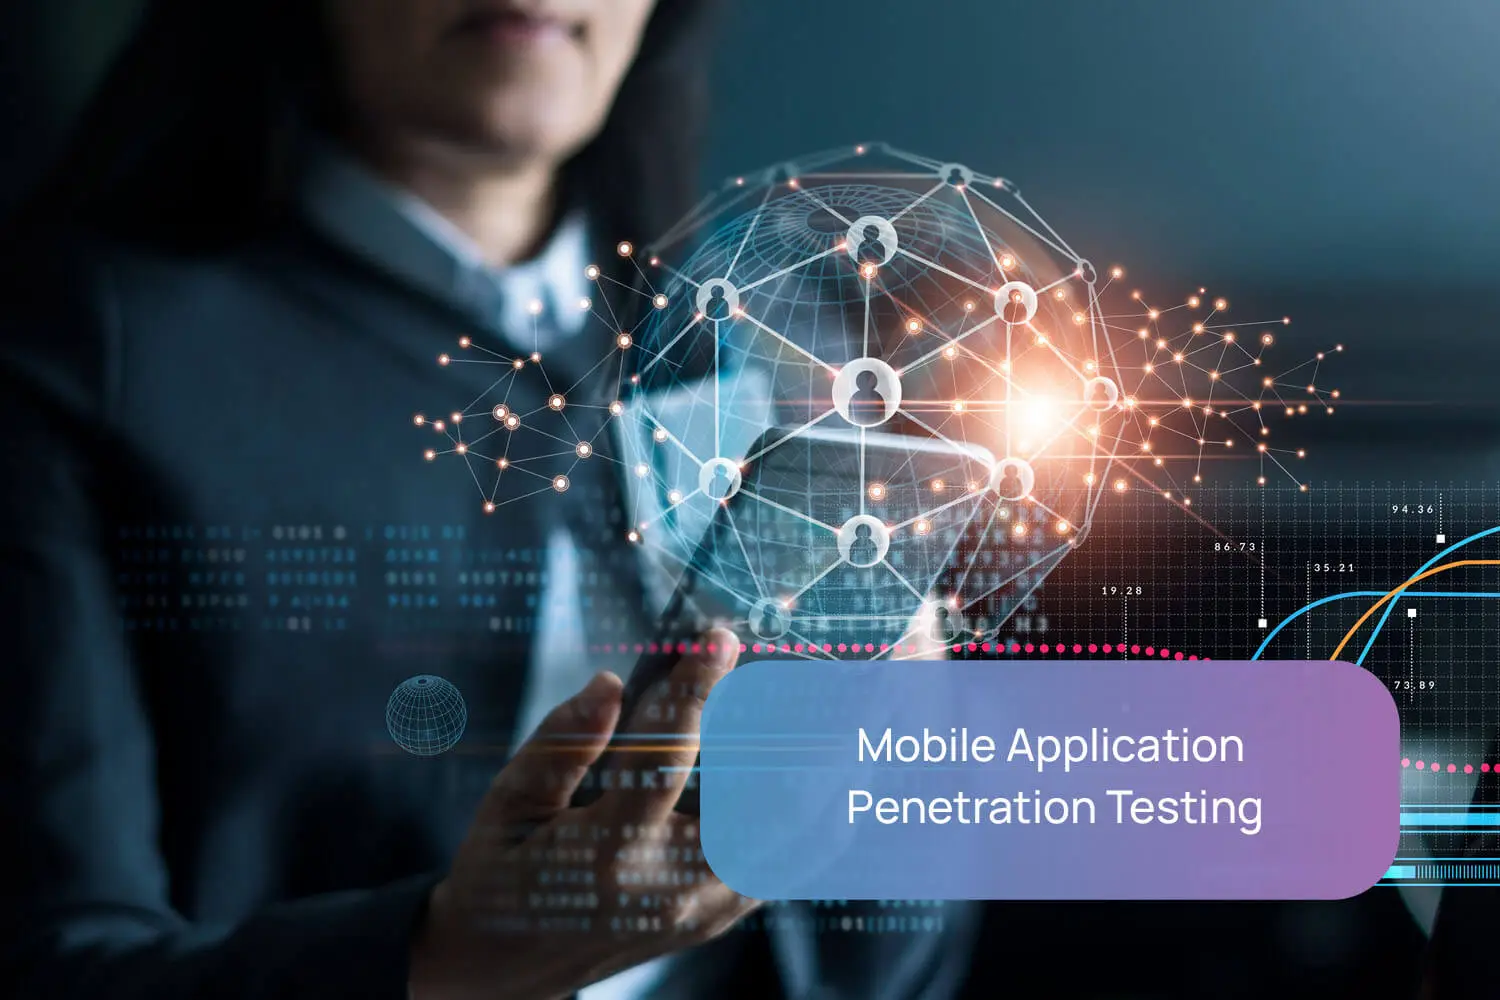
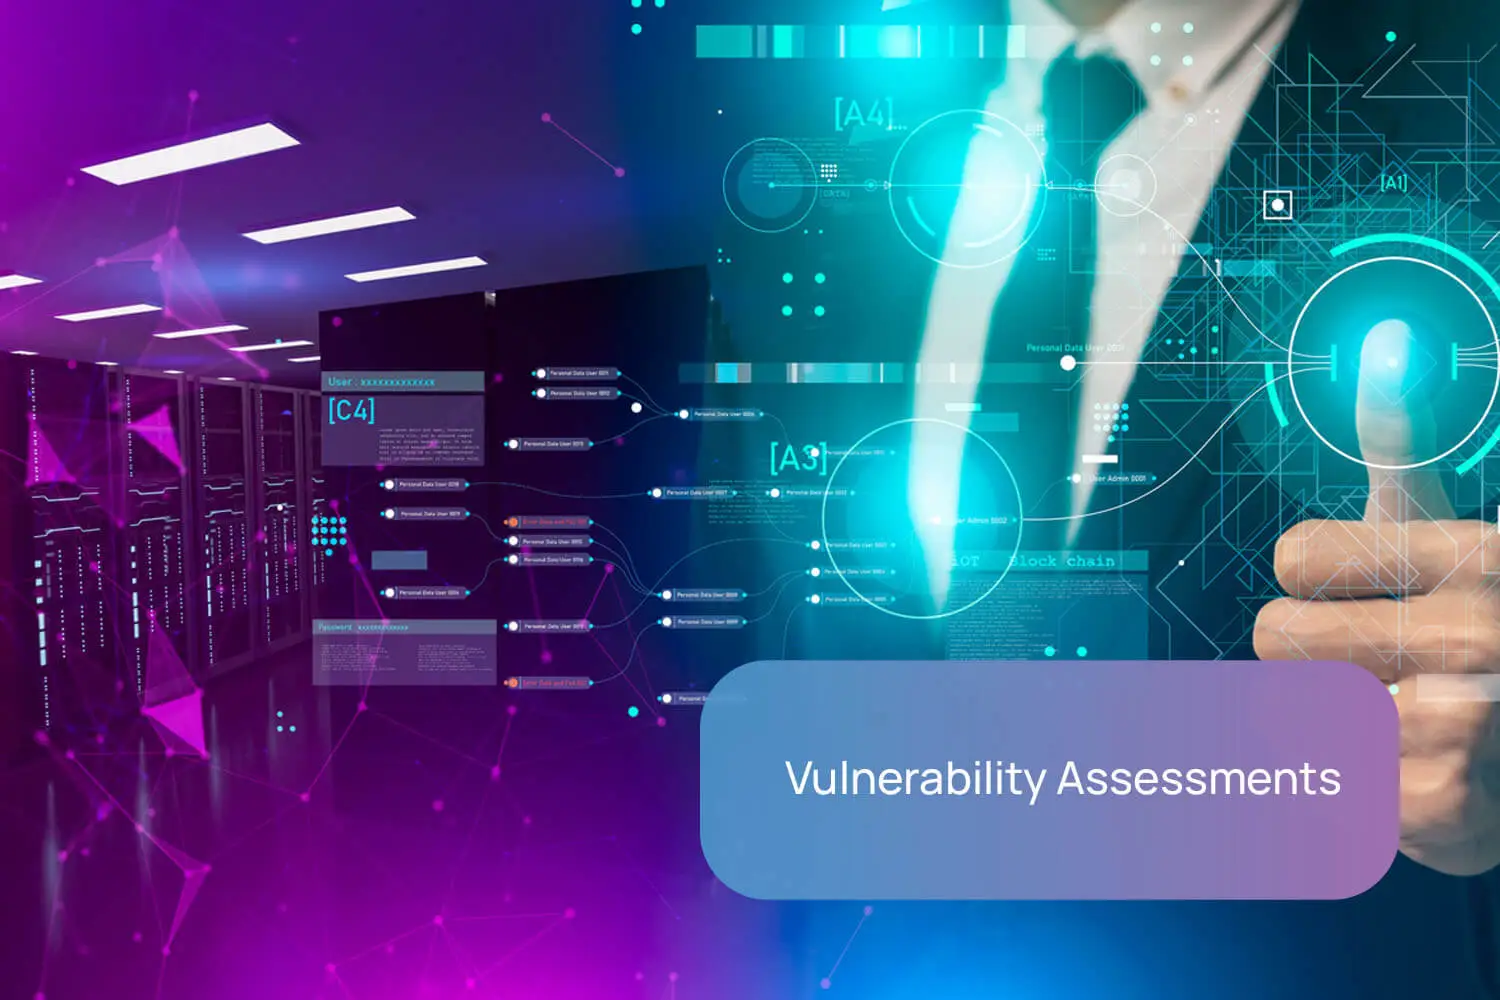
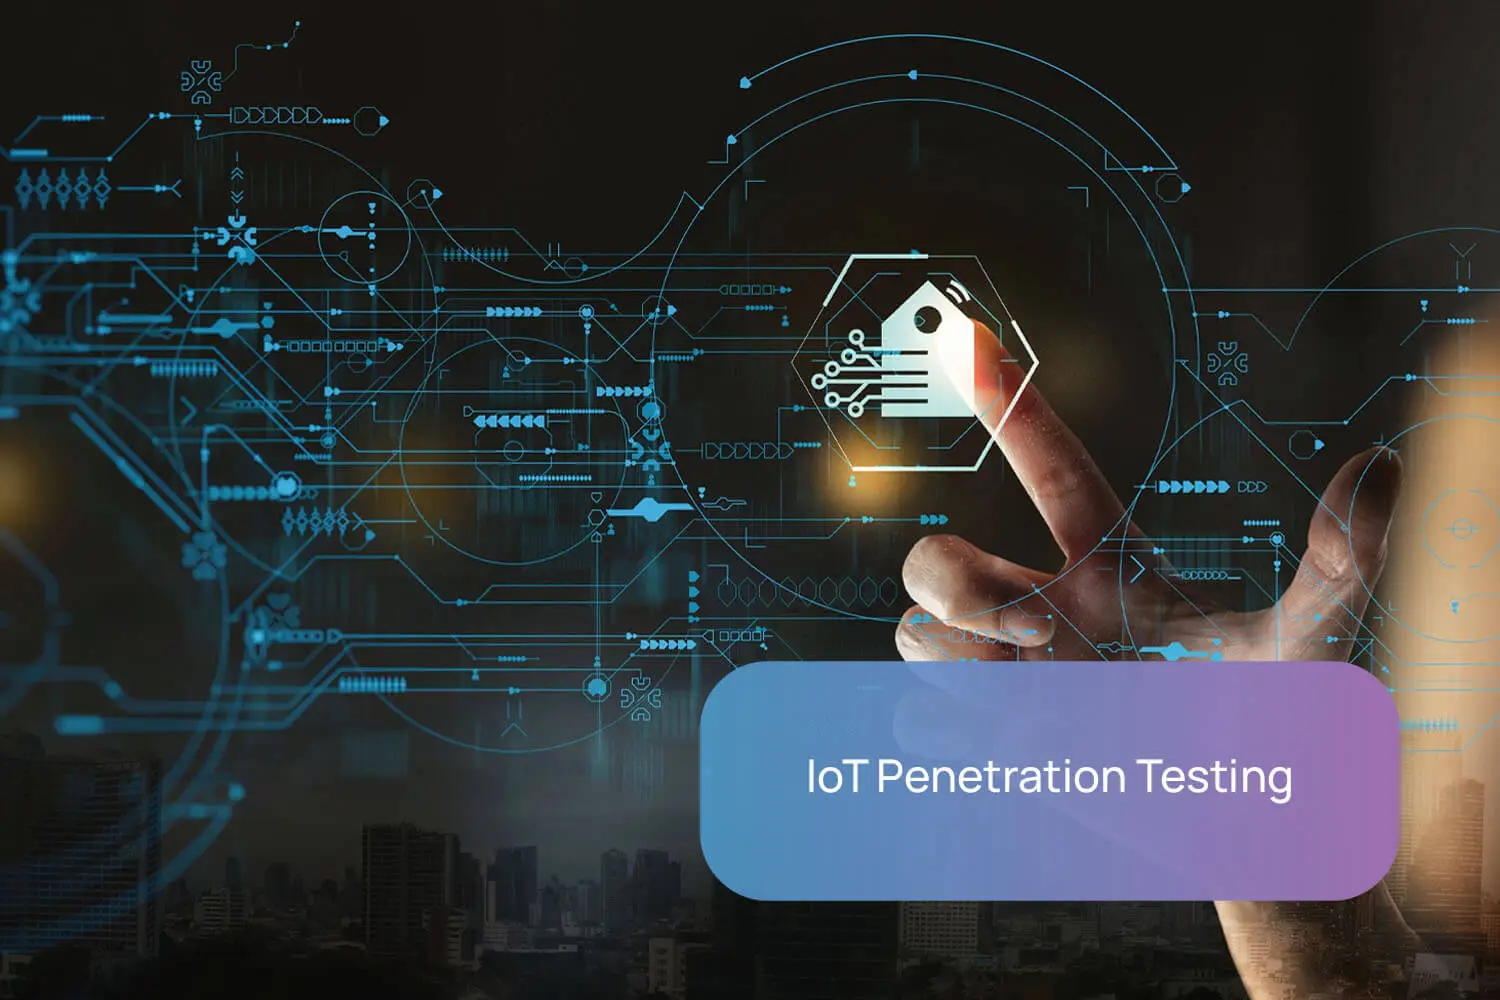
Cyber Security Services
Our approach leave no stone unturned. We conduct extensive assessments of your IT landscape, identifying potential vulnerabilities in apps, systems, routes, and services that could jeopardize your business operations.

Keeping your data Safe. Secure. Accessible.
IT Services
IT'S TIME TO PUT TECHNOLOGY TO WORK FOR YOU
Managed IT Services
We empower our clients to fully harness the power of technology by implementing, managing, and providing robust, secure, and adaptable IT solutions

THE MANAGEMENT OF SECURITY IS NOT ABSOLUTE BUT A FUNCTION OF RISK
Managed IT Security Services
In the era of technological advancement, it’s vital for businesses not to overlook their information infrastructure or security.

BLEND YOUR IN-HOUSE KNOWLEDGE WITH OUR IT EXPERTISE
Co-managed IT services
With the evolution of technology and the increase in cyber threats, information management is no longer the responsibility of just one individual.
DESIGN AND IMPLEMENTATION OF MODERN INFRASTRUCTURES
IT Projects And Consultancy
INNOVATION MEETS PRODUCTIVITY
Microsoft Modern Workplace
Boost and accelerate your company’s digital transition by creating an advanced and modern work environment.
Discover our latest content and resources
Explore our blog to gain valuable insights and perspectives from our leading offensive security and IT experts.